

 English
 中文简体
中文简体
 Español

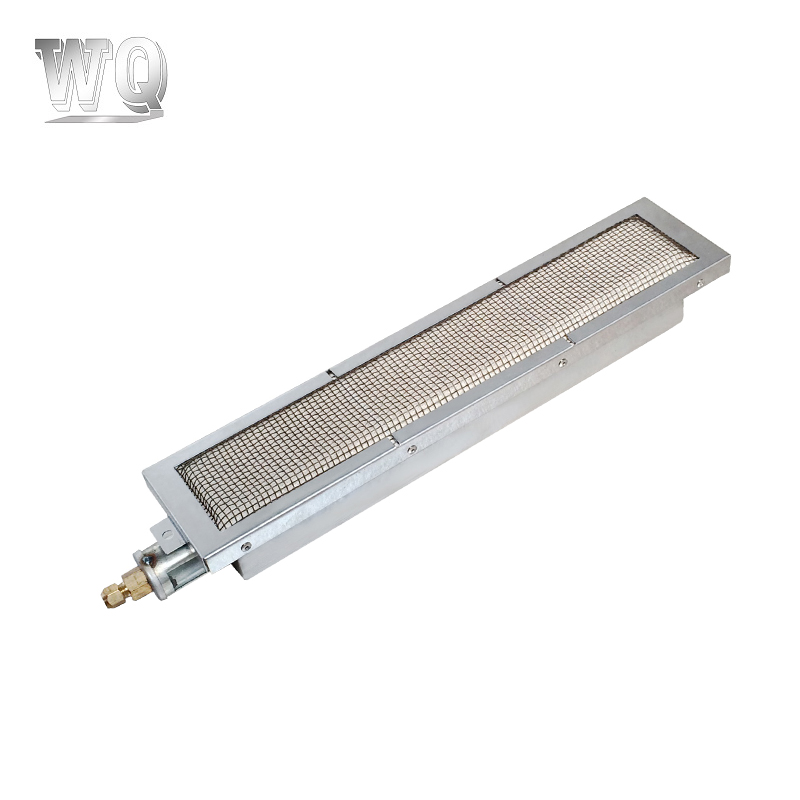
Stainless steel BBQ grill burners are a popular choice among grill enthusiasts due to their durability, heat resistance, and relatively long lifespan. However, like any other part of your grill, they require regular cleaning and maintenance to perform at their best and last for years. Over time, grease, food particles, and carbon buildup can clog the burner ports, leading to uneven heating, reduced efficiency, and even potential fire hazards. Here’s a comprehensive guide on how to properly clean and maintain stainless steel BBQ grill burners.
1. Turn Off and Cool Down the Grill
Before you begin cleaning, always make sure the grill is completely turned off and has had enough time to cool down. Attempting to clean a hot grill can be dangerous and may damage components or cause burns.
2. Remove the Burners (If Possible)
Some grills allow you to remove the burners entirely, which makes cleaning much easier. If your grill design permits this, carefully take out the burners after removing the cooking grates and flavorizer bars or heat shields.
3. Brush Away Surface Debris
Using a stiff wire brush or a nylon-bristled brush, gently scrub the top and sides of the burners to remove loose debris such as ash, grease splatters, and burnt food particles. Be careful not to bend or damage the burner ports during this process.
4. Clean the Burner Ports
The small holes along the top of the burner—known as burner ports—are where the gas escapes and ignites, creating the flame. These can easily become clogged with grease or food residue. Use a thin wire (such as a paper clip) or a specialized burner cleaning tool to gently clear each port. Do not use anything too sharp or forceful that could enlarge or distort the holes.
5. Soak for Deep Cleaning (Optional)
For more stubborn grease or carbon buildup, you can soak the burners in warm, soapy water for about 30 minutes. After soaking, use a soft cloth or sponge to wipe away remaining grime. Rinse thoroughly and dry before reinstalling.
Alternatively, you can use a degreaser spray designed for outdoor cooking equipment. Apply it to the burners, let it sit for a few minutes, then wipe or rinse it off.
6. Inspect for Damage or Wear
While cleaning, inspect the burners closely for signs of rust, corrosion, warping, or cracks. Although stainless steel is resistant to rust, it is not entirely immune—especially if exposed to moisture over long periods or subjected to high heat repeatedly. If you notice significant damage or deterioration, it's time to replace the burners.
7. Reinstall Burners and Reassemble the Grill
Once the burners are clean and dry, carefully reinstall them into the grill, making sure they align correctly with the gas valves and ignition system. Replace the flavorizer bars, heat shields, and cooking grates.
8. Run a Test Burn
After reassembly, turn on the grill and light all burners to run a short test burn. This helps burn off any residual cleaning agents or leftover debris and ensures that all burner ports are functioning properly with an even flame.
9. Regular Maintenance Tips
Clean After Every Use: Wipe down the exterior of the burners and surrounding areas after each grilling session while still warm (but not hot) to prevent buildup.
Season the Burners: Just like cast iron cookware, some users recommend lightly coating stainless steel burners with a food-safe oil occasionally to enhance their non-stick properties and protect against oxidation.
Keep the Grill Covered: When not in use, especially outdoors, keep your grill covered with a weatherproof cover to protect the burners and other components from rain, dust, and UV exposure.
Avoid Harsh Chemicals: Stick to mild cleaners or natural solutions like vinegar and baking soda. Strong chemical cleaners can damage the protective layer of stainless steel over time.
Proper cleaning and maintenance of stainless steel BBQ grill burners are essential for ensuring optimal performance, safety, and longevity. With regular care, your stainless steel burners can provide consistent, even heat and reliable service for many grilling seasons to come. By following these simple steps, you’ll not only extend the life of your grill but also enjoy better tasting food and a safer cooking environment.